
Looking to fit your new slimline radiator yourself? Look no further. We’ve enlisted the help of our resident expert Craig Phillips to give you step-by-step instructions on how to fit a slimline radiator.
You Will Need:
- Old cloths
- Buckets/bowls
- Adjustable spanners
- Radiator key
- Pencil for marking
- Tape measure
- Spirit level
- PTFE tape
- Any fixings that came with your new radiator
- Cordless drill
- Suitable drill bits
1 – Locating Your Flow and Return Pipes
Before removing your old radiator, you’ll need to locate what side your flow and return pipes are on. To do this, you can simply turn on the radiator and feel the two pipes on either side at the bottom. One pipe will get warm quicker than the other, this is your flow pipe. Ensure you remember this as its important when mounting your new radiator later on. Now you can turn your heating off.
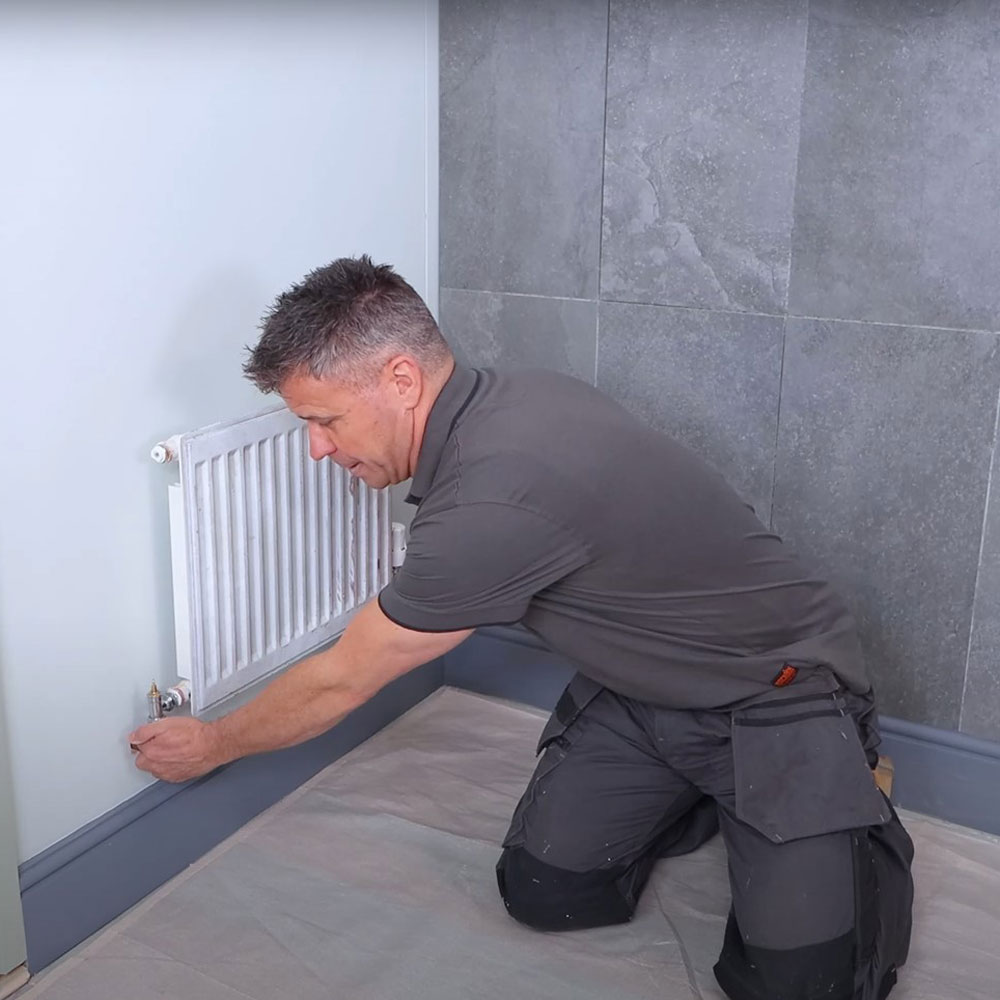
2 – Draining your Old Radiator
Using an adjustable spanner, you’ll need to close the valve on your return pipe down. Do this by simply turning it clockwise.
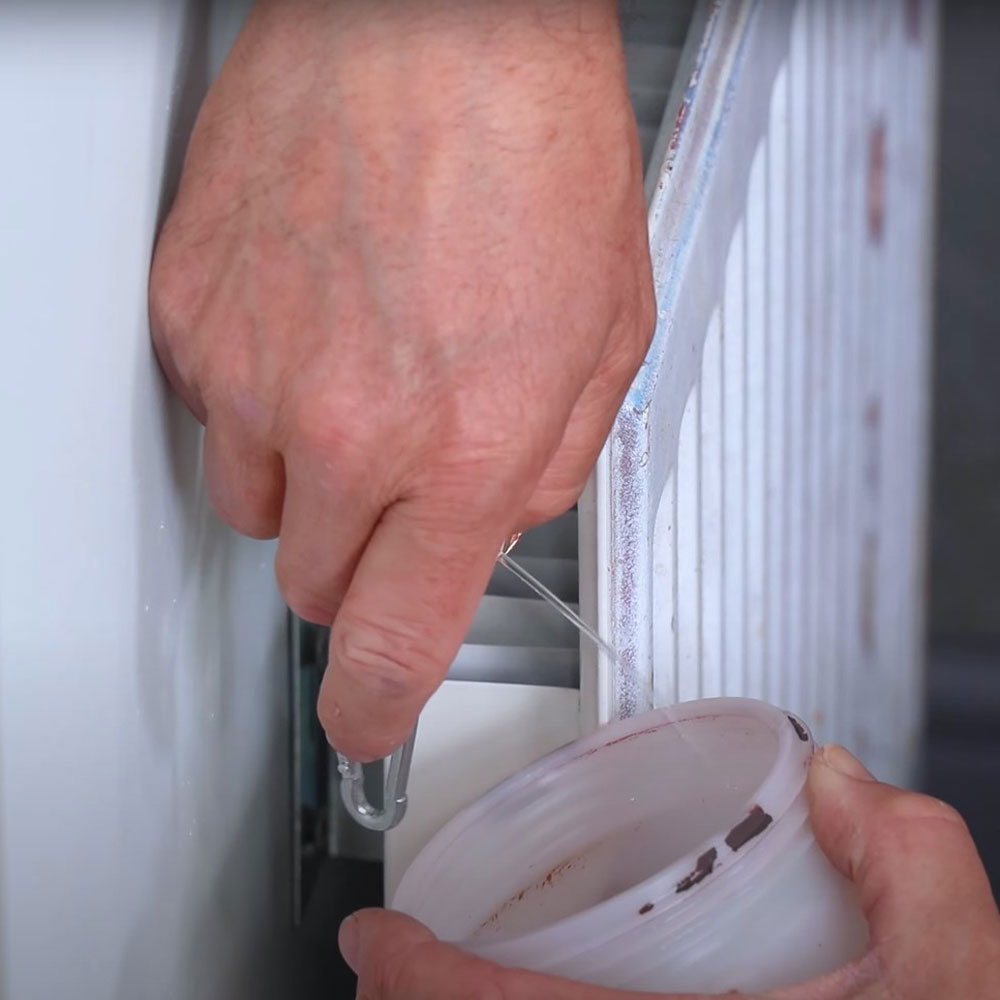
Next, release some of the pressure from inside your radiator by using a radiator key to loosen the bleed valve at the top of your radiator. Ensure you hold a small jug underneath this to catch any water that may escape.
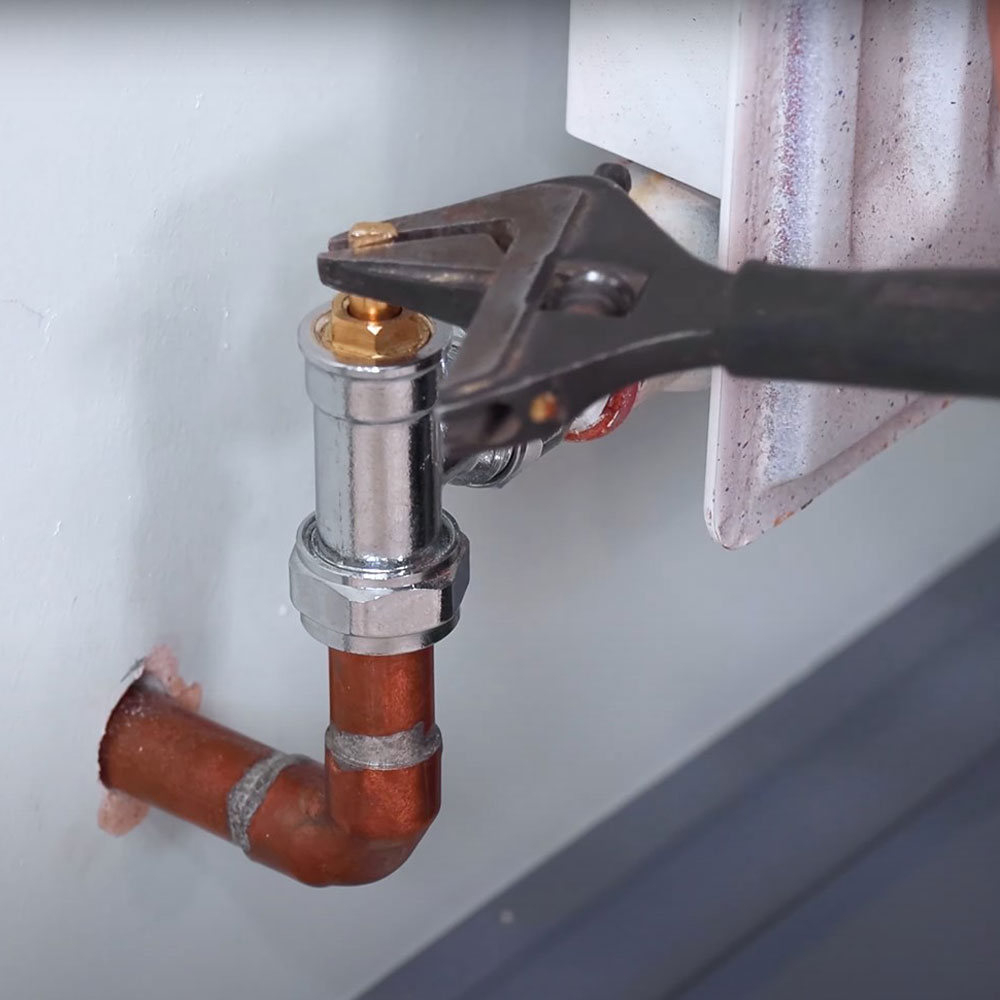
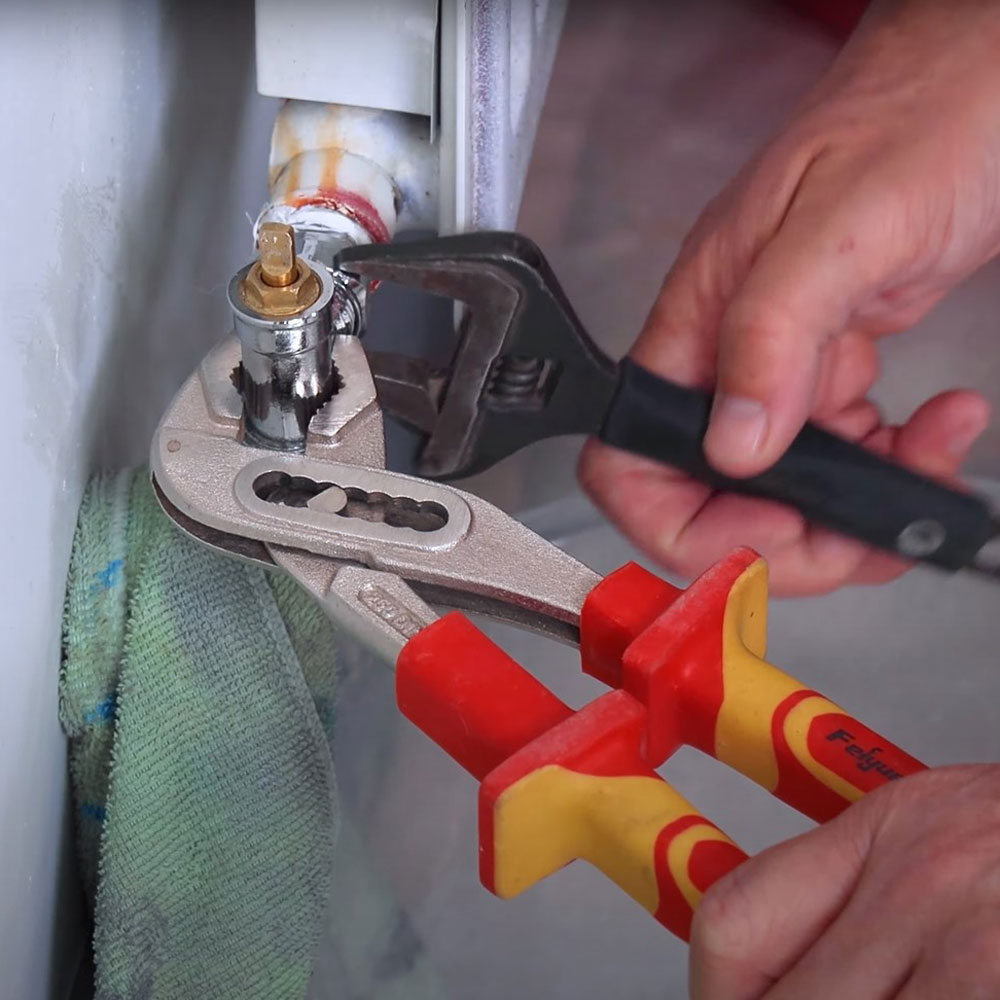
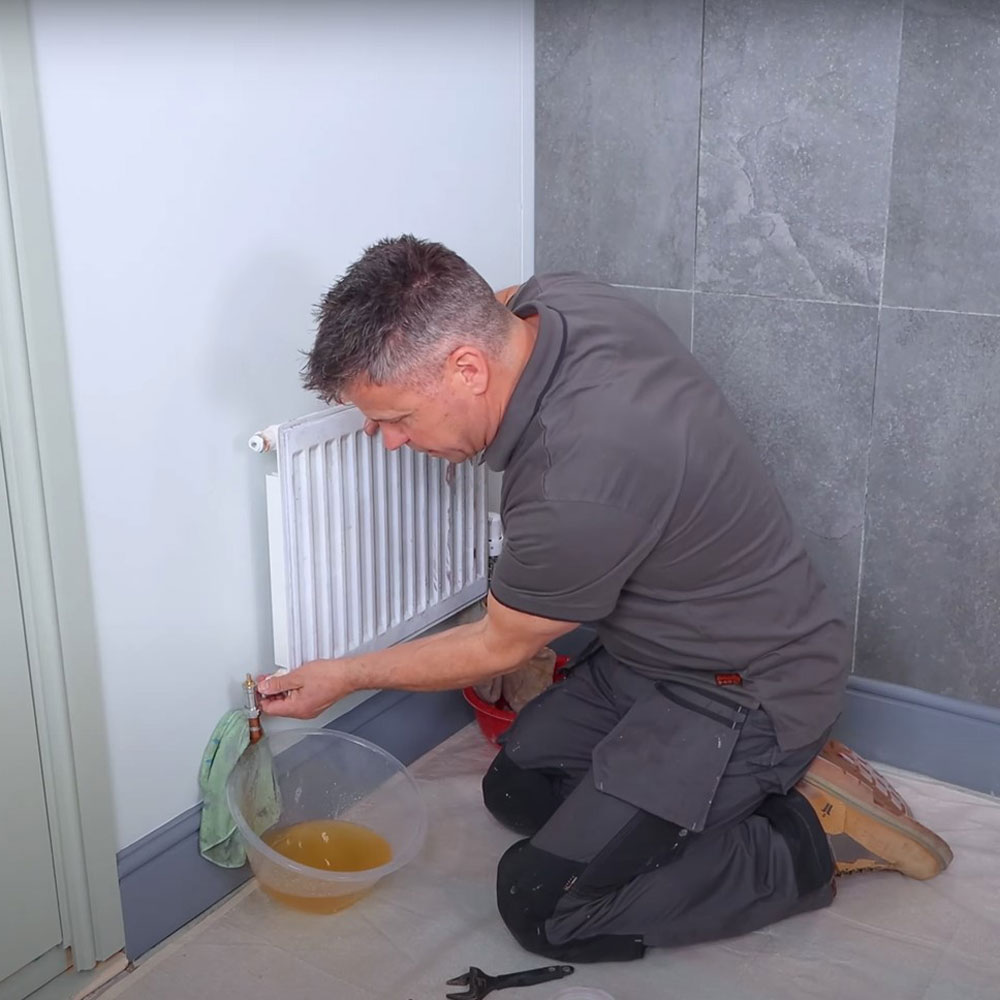
Place some old cloths under both the pipes on either side of your radiator, and a bowl or bucket to catch the water. With an adjustable spanner, grab hold of the top of the return pipe to keep it in place, and with a second spanner, loosen the valve.
You should now notice a flow of water releasing into your bucket. Loosen your bleed valve even further if you’d like this water to flow even quicker.
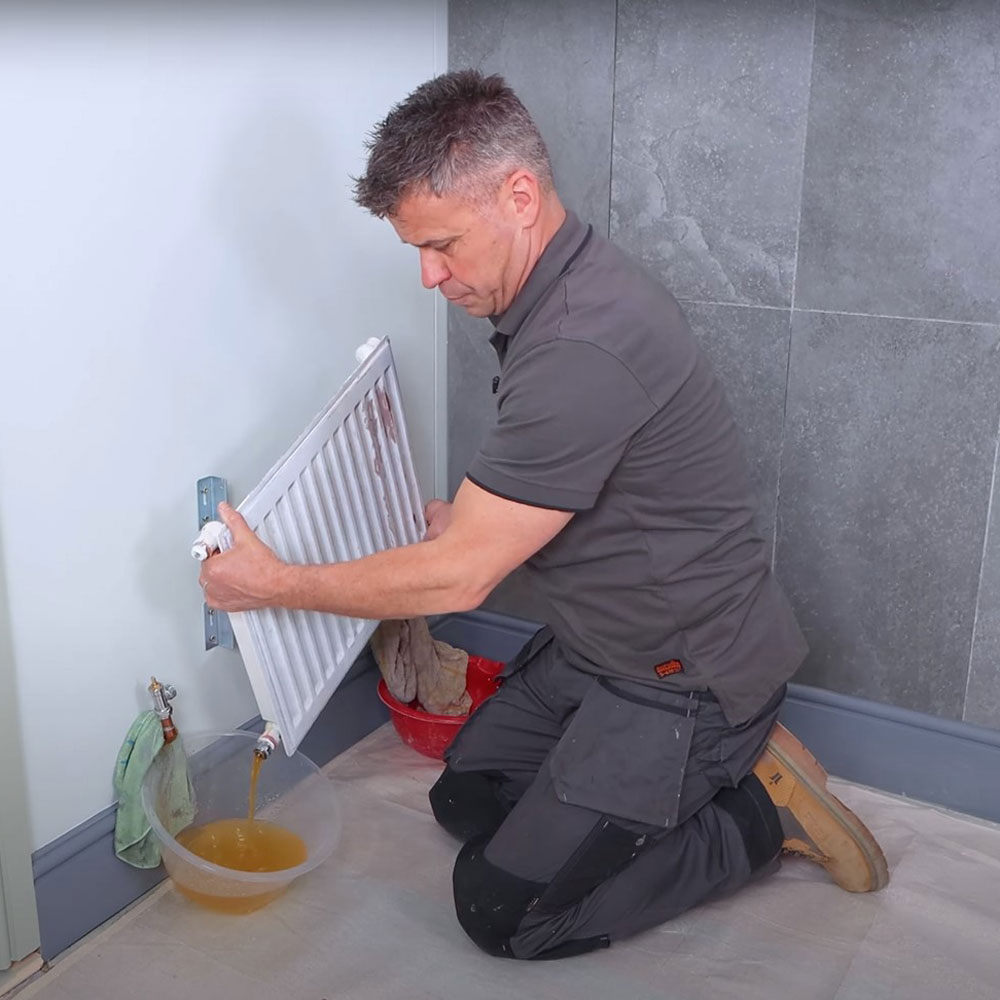
Once the water has stopped flowing from the radiator, disconnect the radiator from the valve. Do the same on the other side.
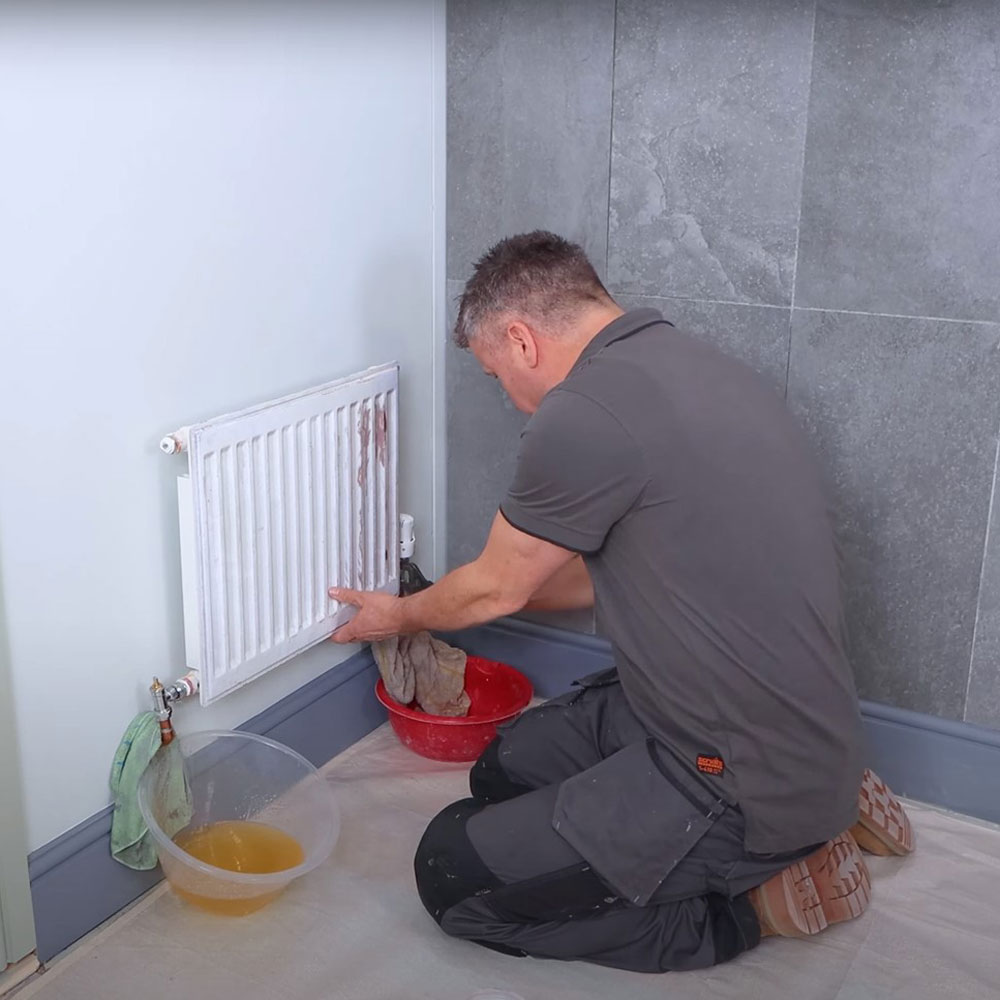
There will be some excess water in the bottom of your old radiator. When you lift your radiator off the wall, simply pour this out into your bowl.
Now you can remove your old brackets from the wall by simply unscrewing them. Fill any holes left in the wall with plaster and paint over these to hide where the old brackets were.
3 – Finding the Right Point to Mount your Wall Brackets
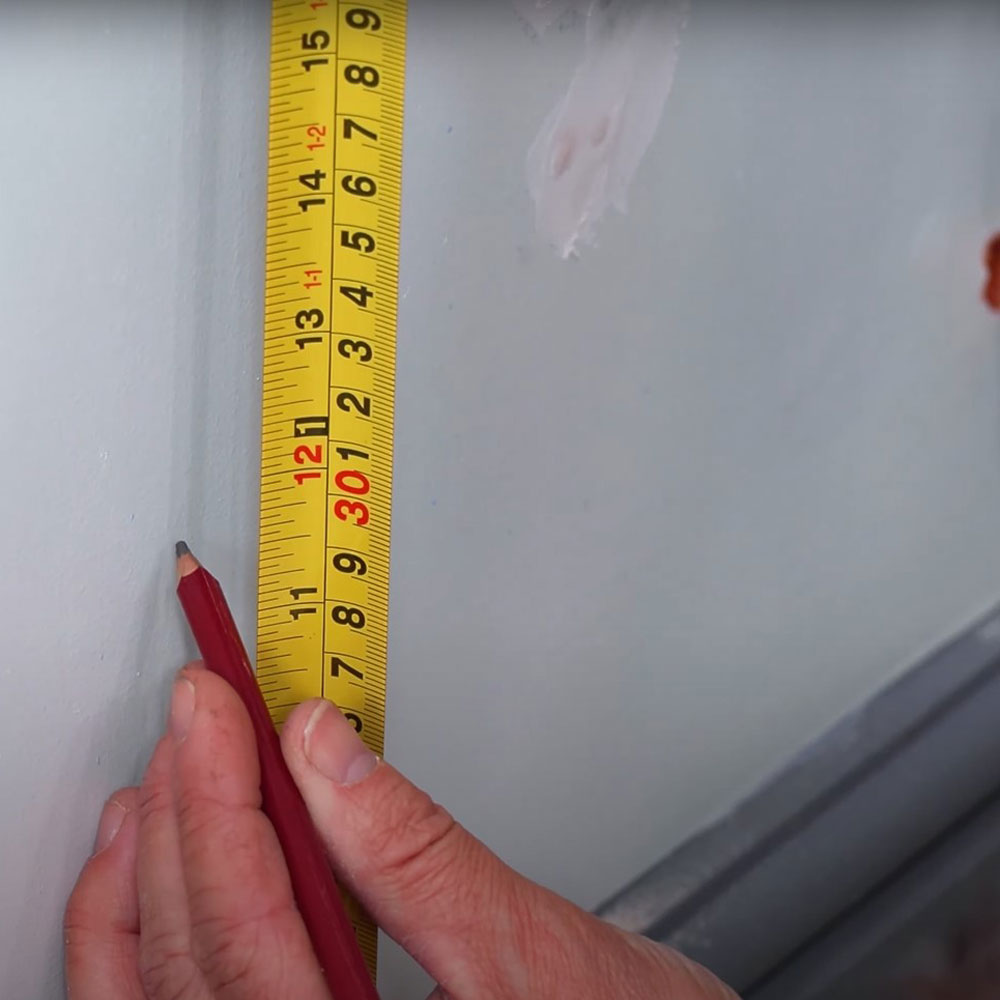
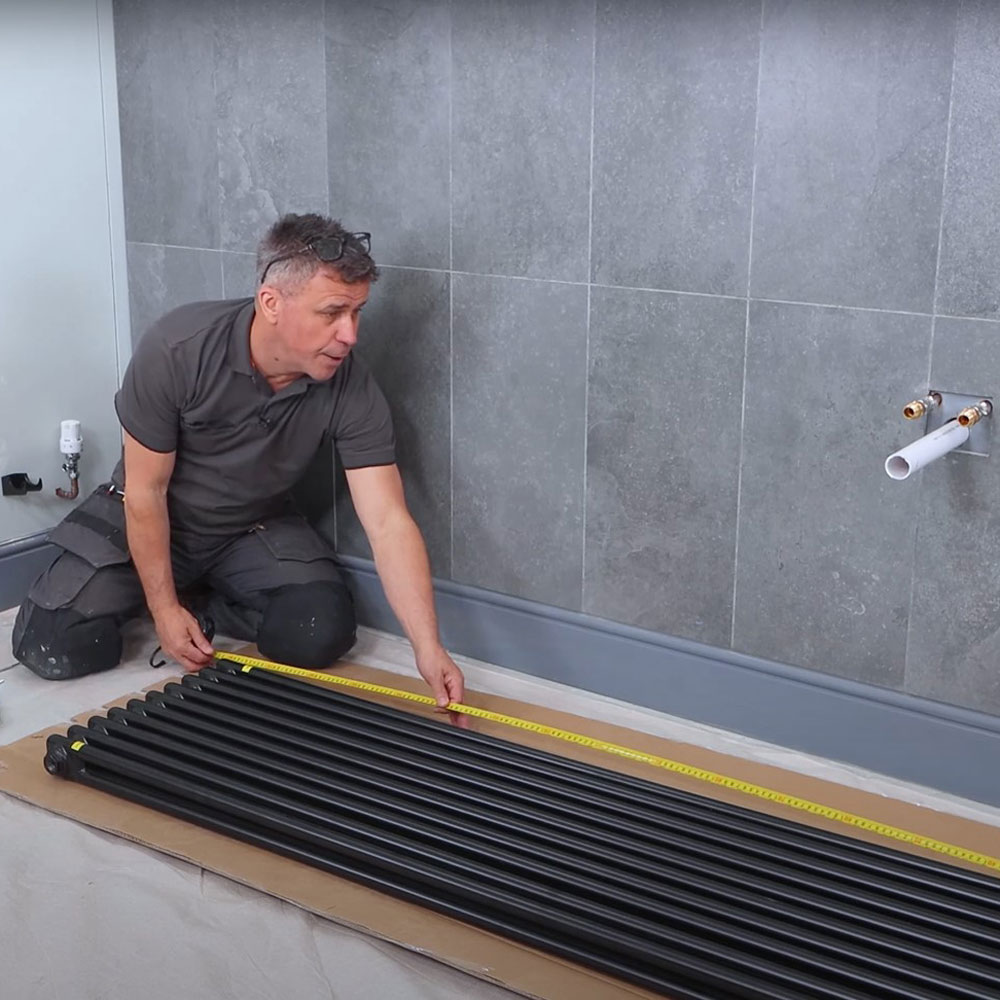
Before you start this, it’s worth taking note of where your inlet and outlet valve are on your new radiator. There should be markers or stickers on your radiator to show you which side each valve is on. With your tape measure, measure the distance from your floor to the valve outlet on your pipes. Use this measurement to make a mark on your wall roughly in the centre of the wall.
If your brackets have a slope from where they will be mounted on the wall to where the radiator will be hung, ensure you accommodate this when making your markings. Now measure the distance from one valve to the other, and make a mark at the halfway point, to match up with your first mark, creating your perfect centre point. Place your brackets where they will be placed on the radiator, and measure the distance from the centre of one bracket to the centre of the other bracket.
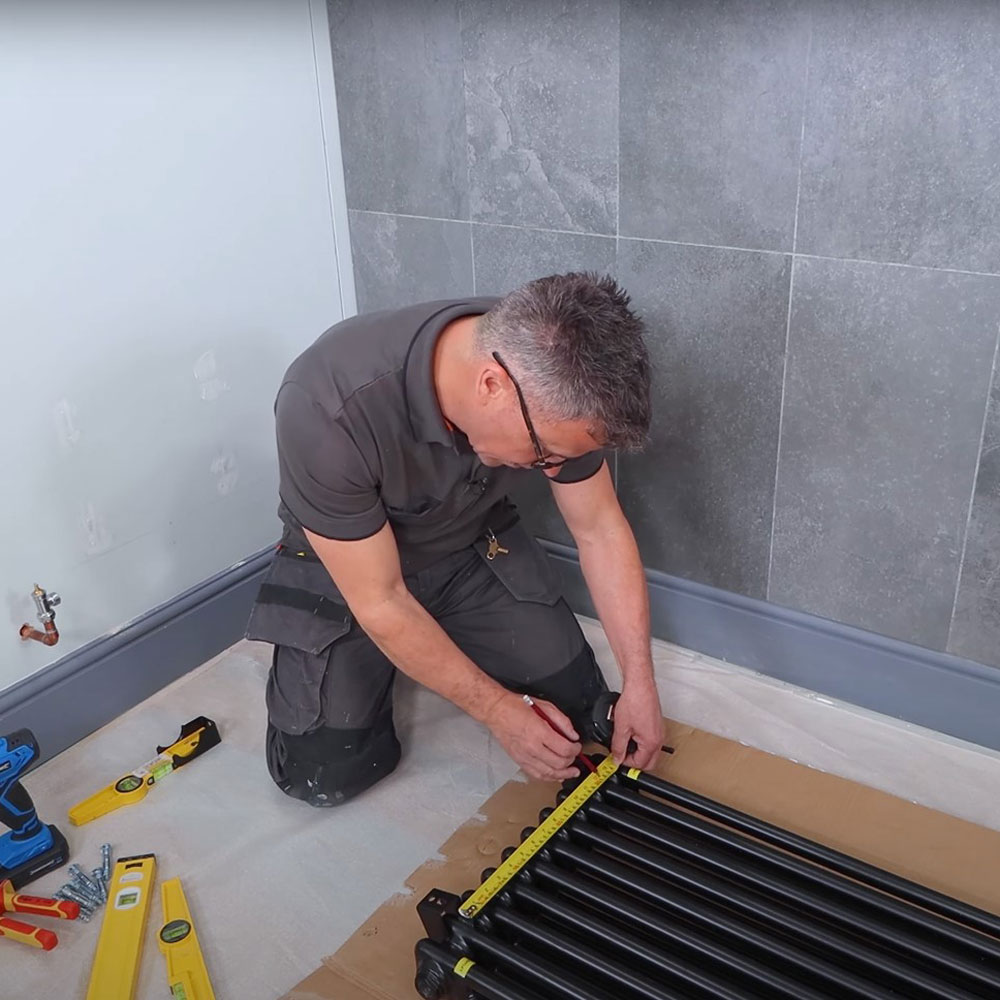
Take this measurement and half it. Mark this new measurement either side of your centre point on the wall. This will tell you where your brackets need to be mounted.

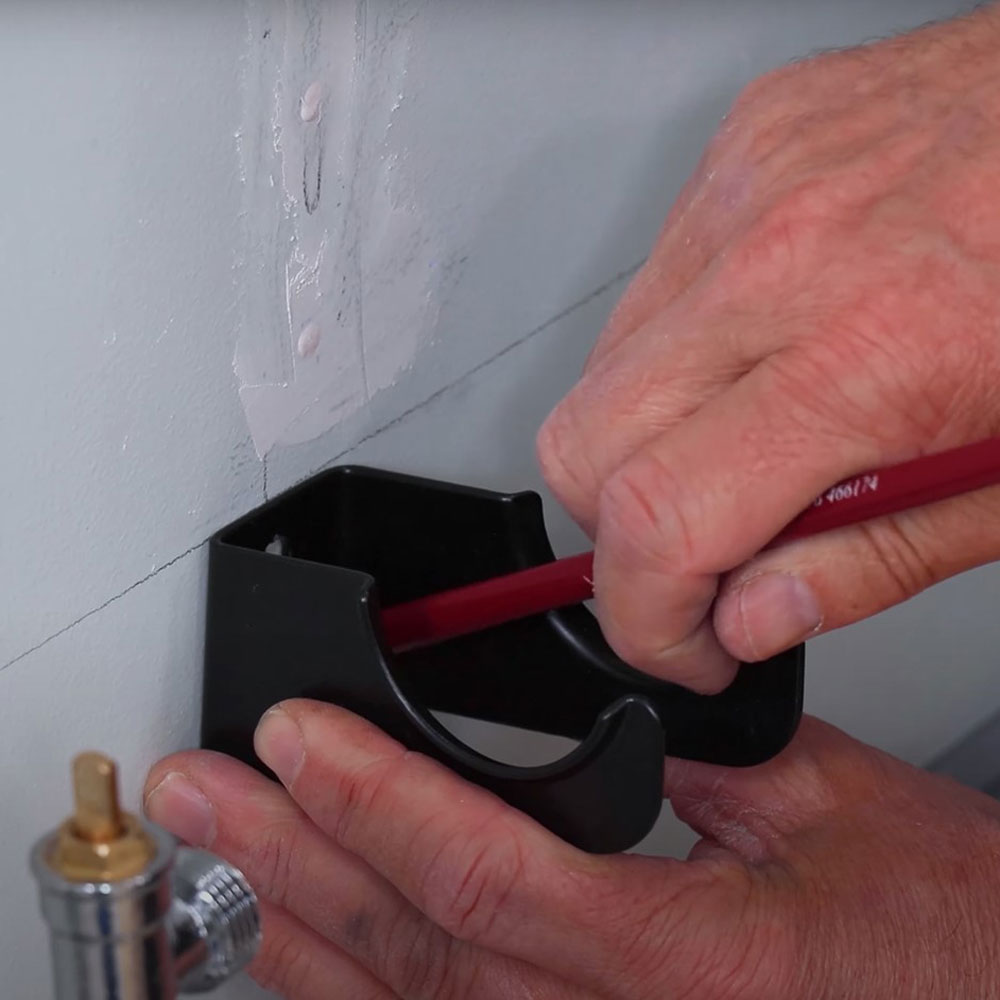
Place your wall bracket so that the top is in line from earlier on, and the marks you have just made are in the centre of the bracket. Holding the bracket against the wall, mark on the wall where any pilot holes sit. This will be where you drill into your wall. Do this on both sides for the two brackets.
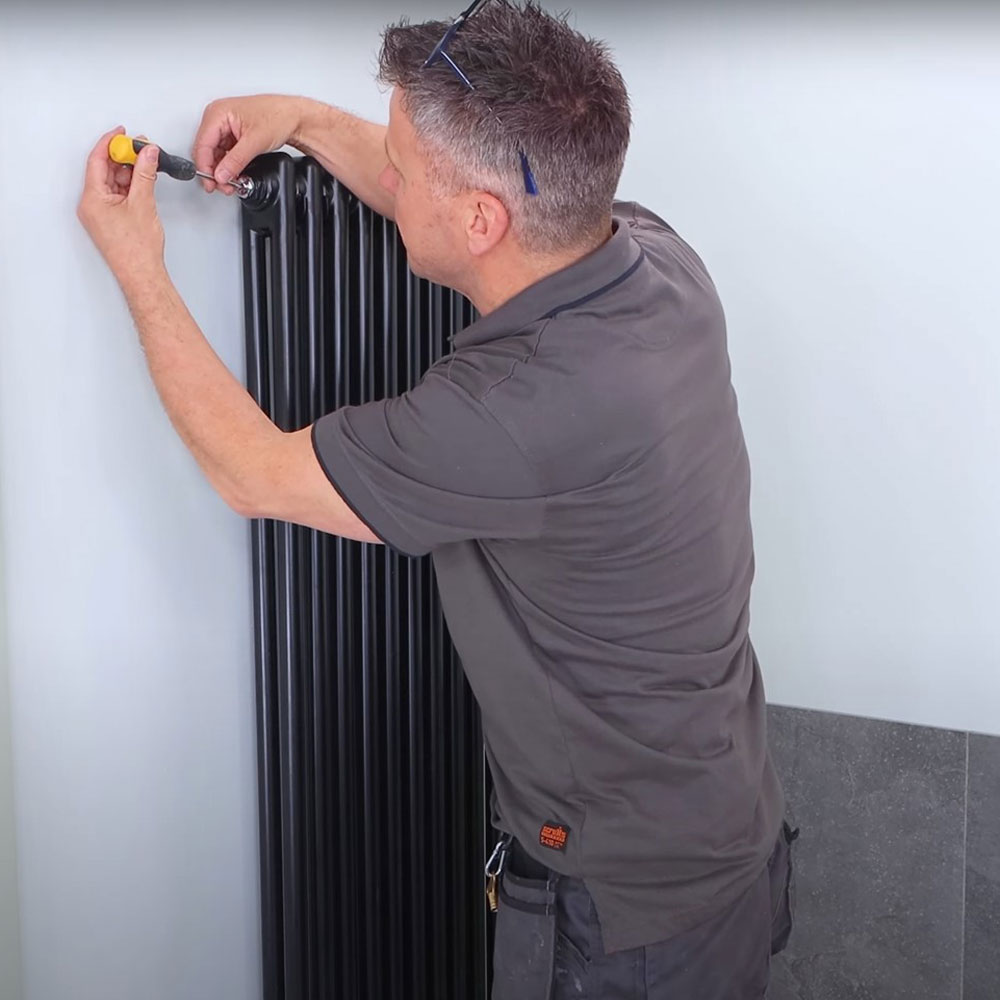
4 – Mounting the Brackets
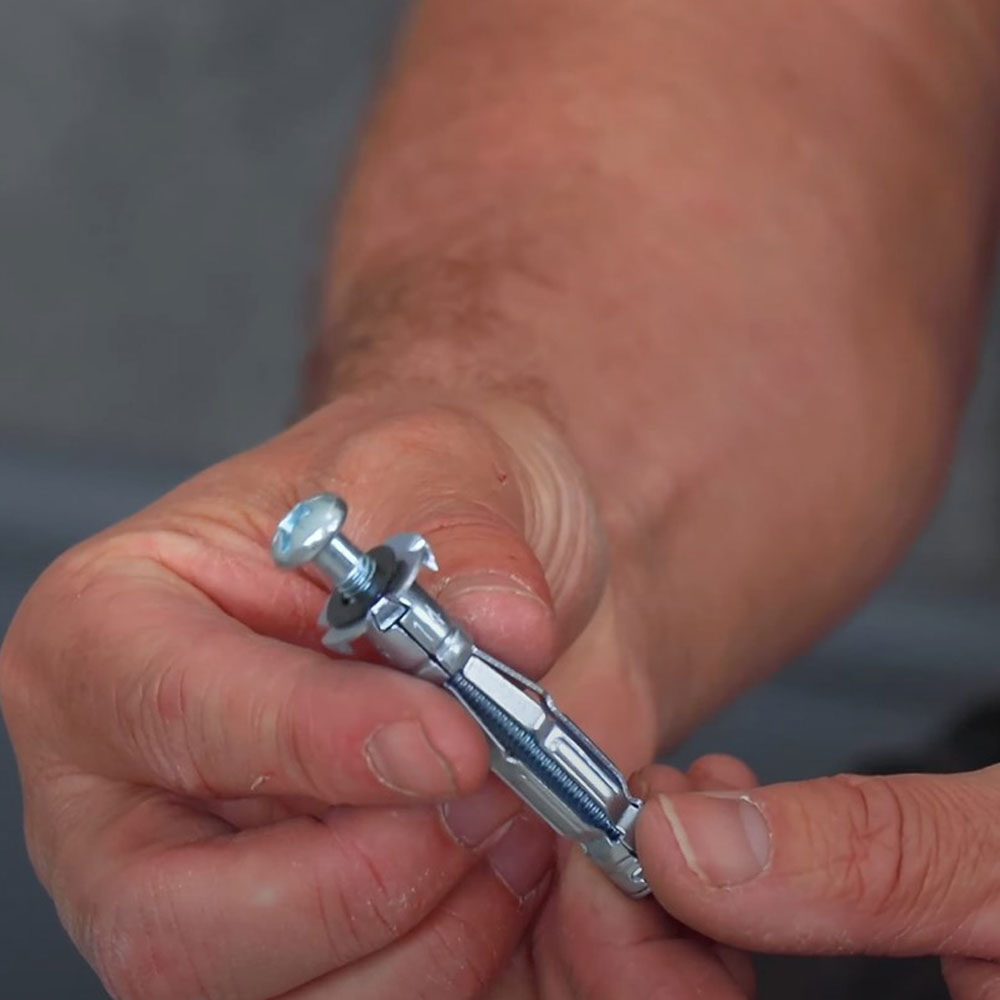
When you receive your radiator, you’ll be provided with some screws and raw plugs. If you have a solid masonry wall you’ll be safe to use these. If your wall is slightly more lightweight, you may need something a bit more secure and stronger. We’d recommend something strong that will anchor behind your wall, to give the wall mounts something to cling on to.
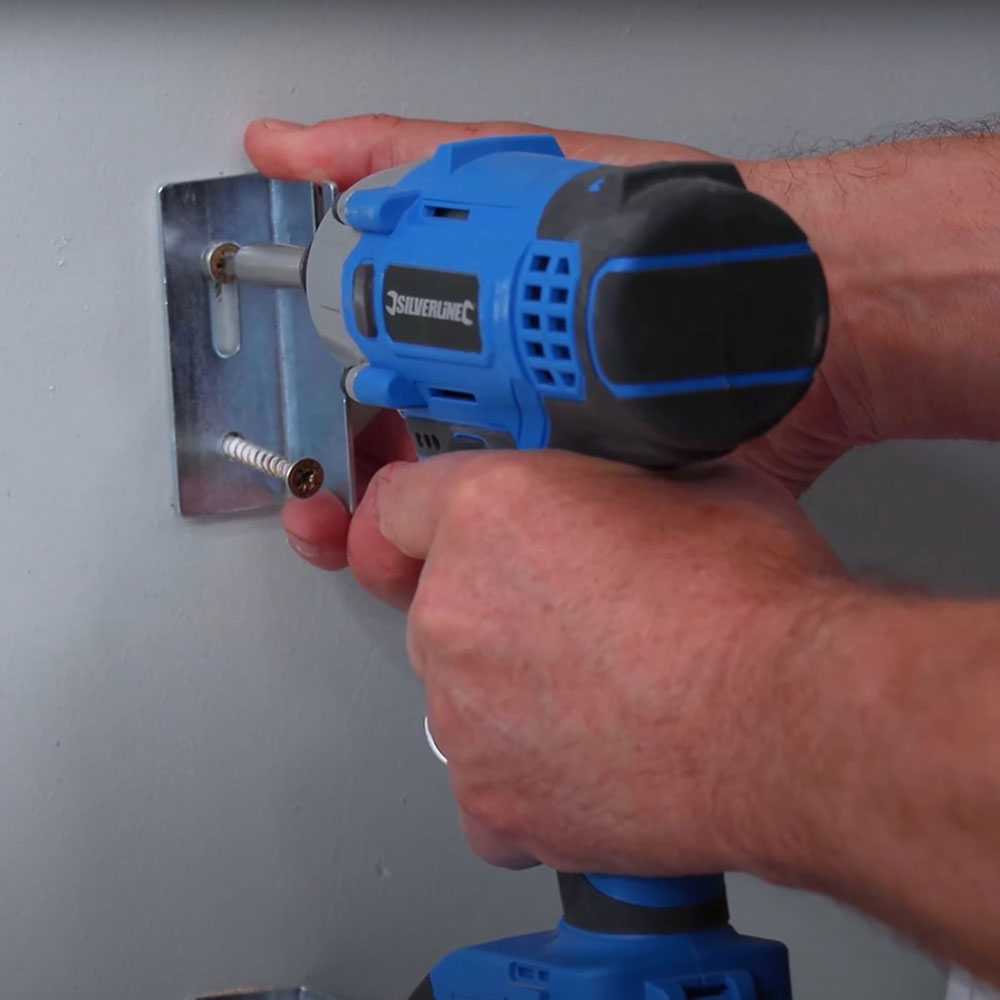
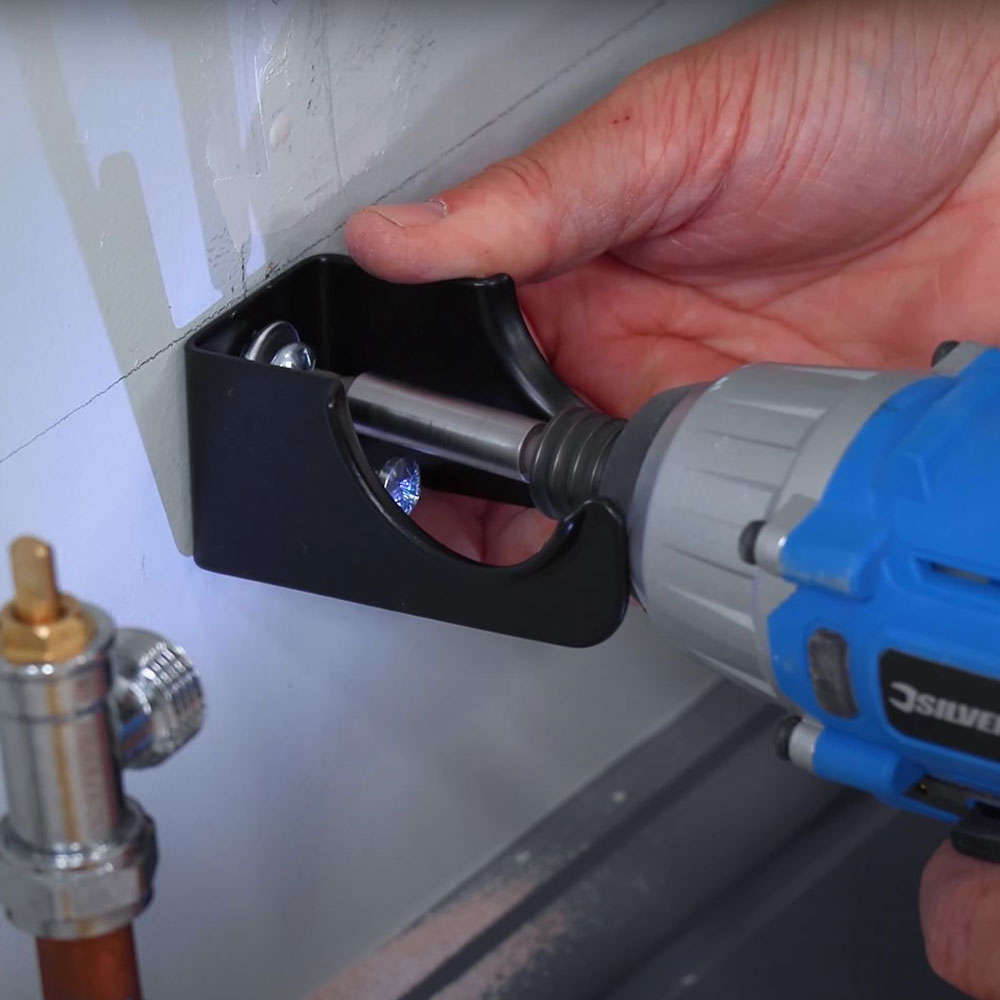
With a suitable drill bit for your wall type, begin to drill holes where you have previously made your marks with the brackets. Insert your suitable plug into these holes.
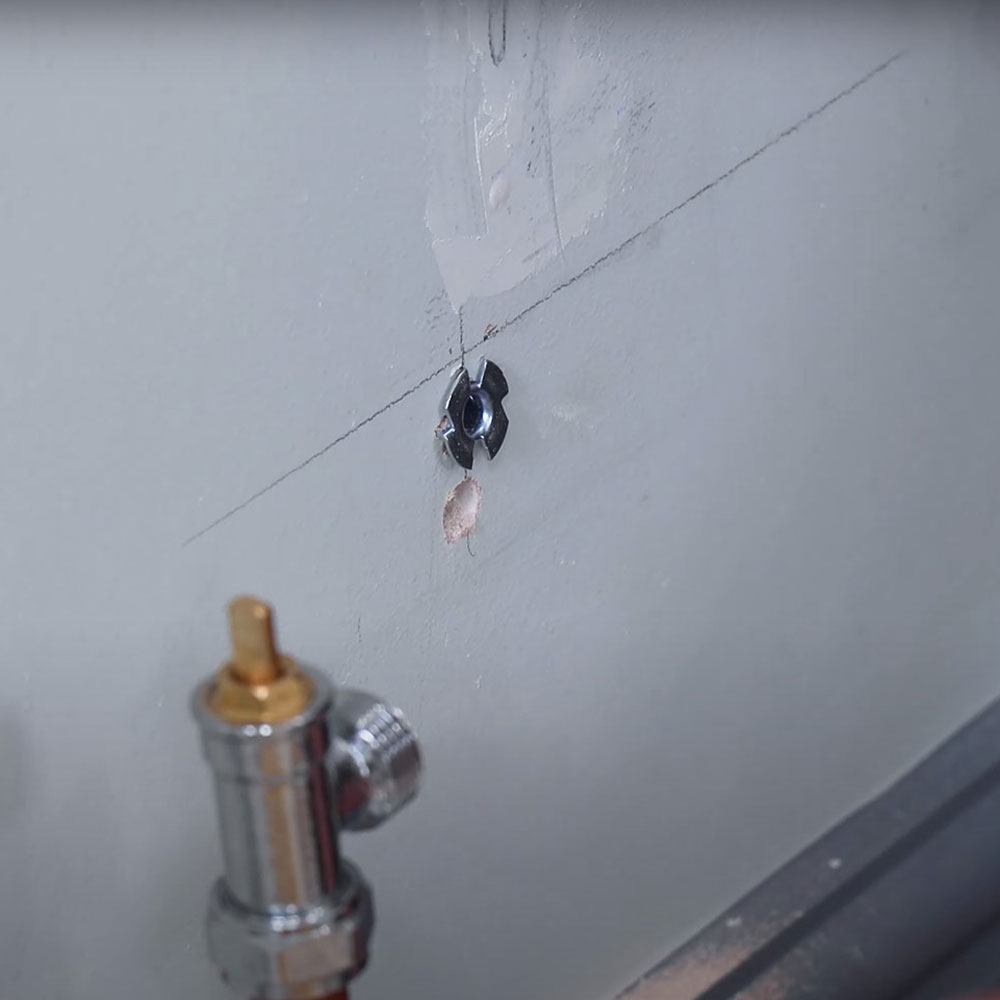
Place your bracket in place and slide the suitable screws through the pilot holes and into your holes in the wall. Screw these in place until the brackets are secure against the wall.
Once these are secure, you can locate where you’ll need to mount the top brackets on the wall. To do this, take a measurement from where the bottom brackets sit on the radiator to where the top brackets sit.
Rest your tape measure on top of the brackets you just mounted onto the wall, and mark a mark on the wall where the measurement lands. Use a spirit level to ensure this mark is straight up from your bottom brackets, to ensure you mount them in line with one another.
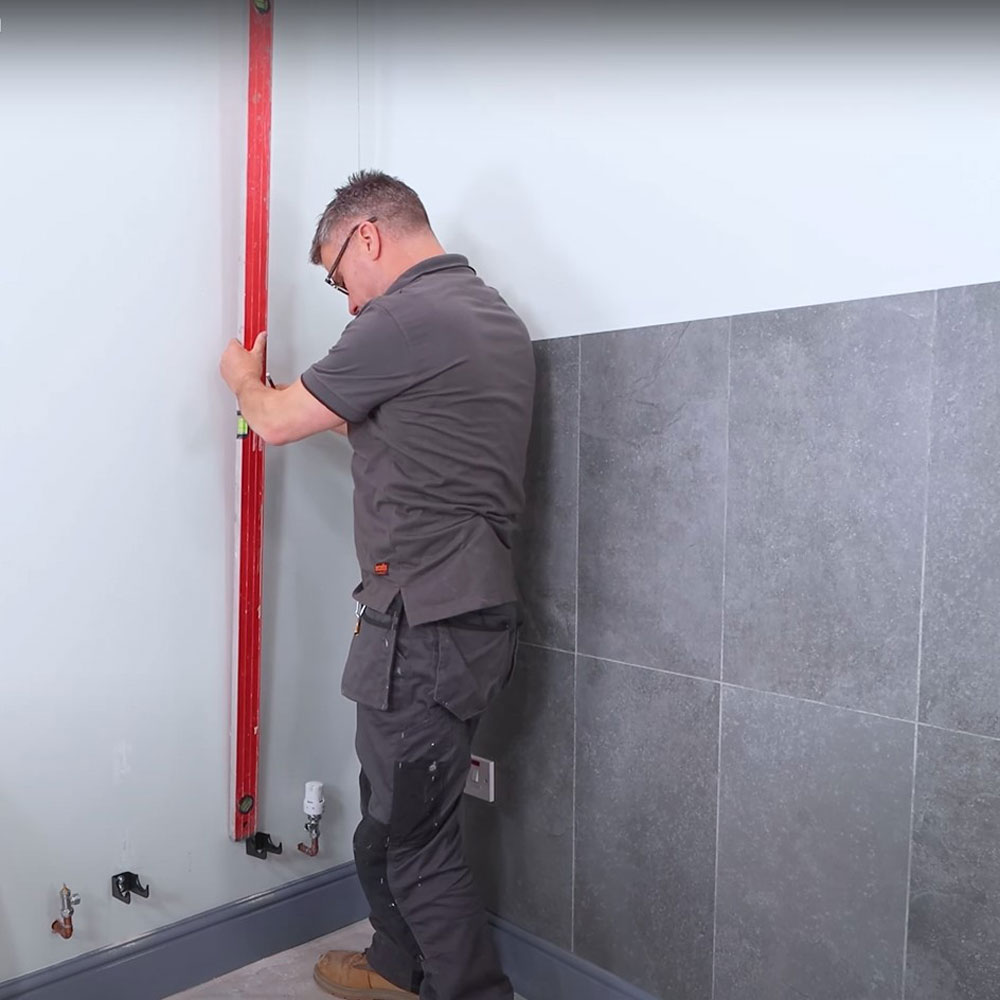
Using the same process as before, place your brackets against the wall and make a mark where the pilot holes sit. Do the same on the opposite side and once you’re happy that all of your measurements are correct, you can drill your holes and insert the plugs in the same way you did with the bottom brackets. Mount these in the same way as before.
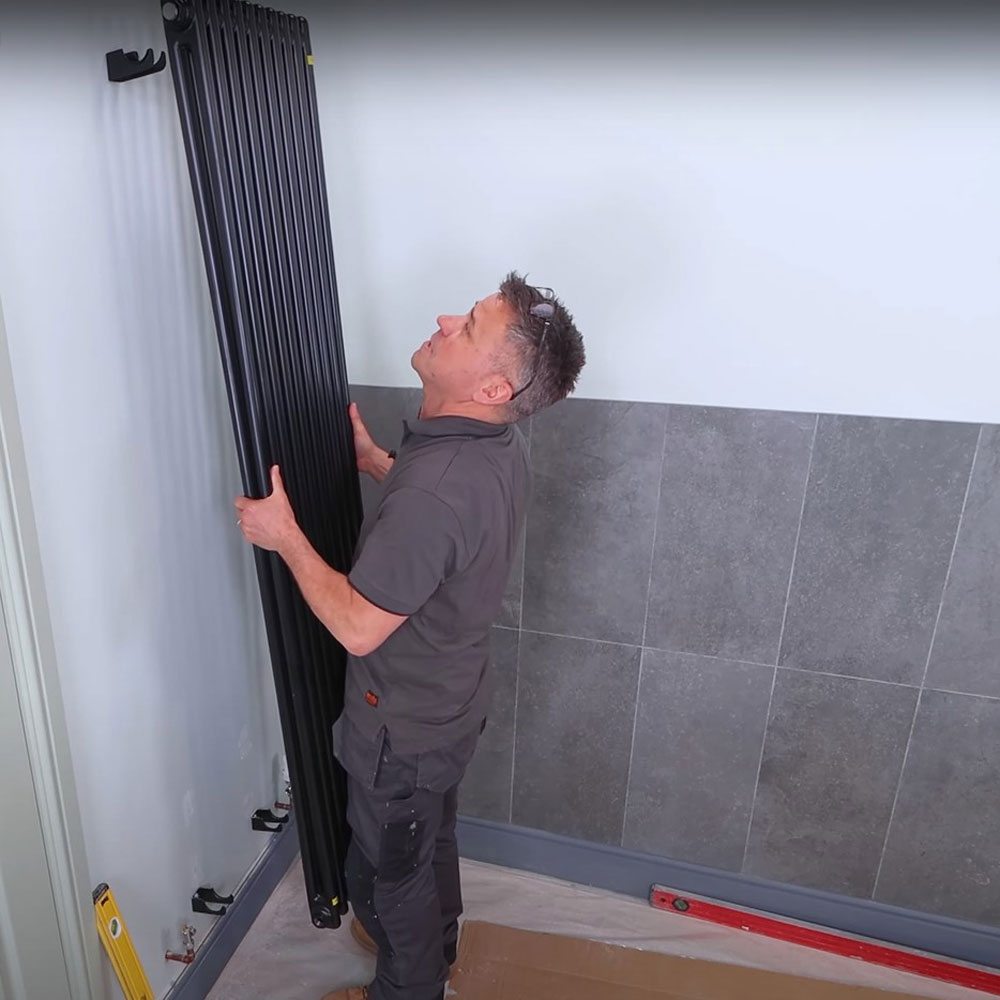
5 – Hanging your Radiator
If you have someone to help ensure they are on-side to help lift your radiator into place. Hook the top and bottom of the radiator in place on your top and bottom brackets, ensuring your inlet and outlet valves are in the correct position.
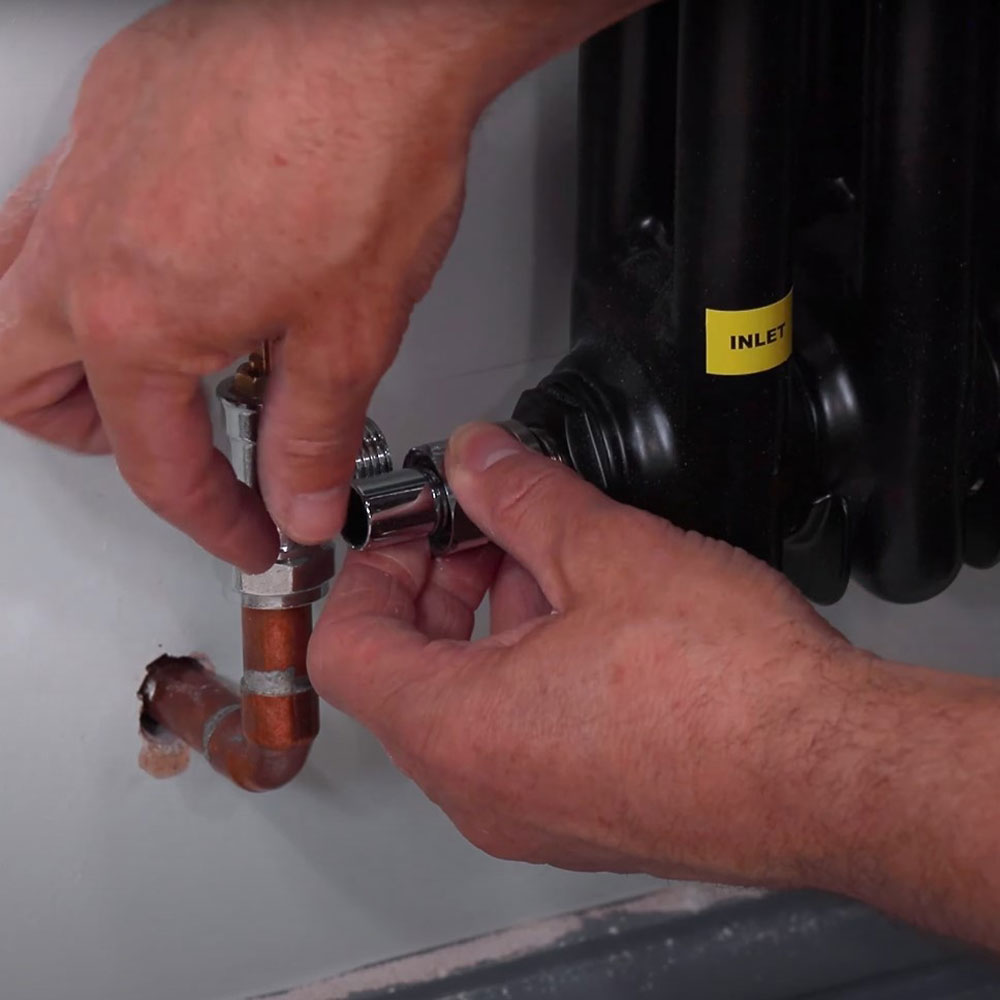
6 – Reattaching your Valves
Now it’s time to reattach your valves at the bottom of your new radiator. If your new radiator is slimmer than your old one, you may find you need to attach some radiator valve extension pipes. If this is the case, simply screw these in place before you begin replumbing the new radiator.
Close your outlet at the top of your radiator with the piece provided in your radiators box. In this there should be a small grommet screw that will allow you to release air from the radiator when it’s loosened.
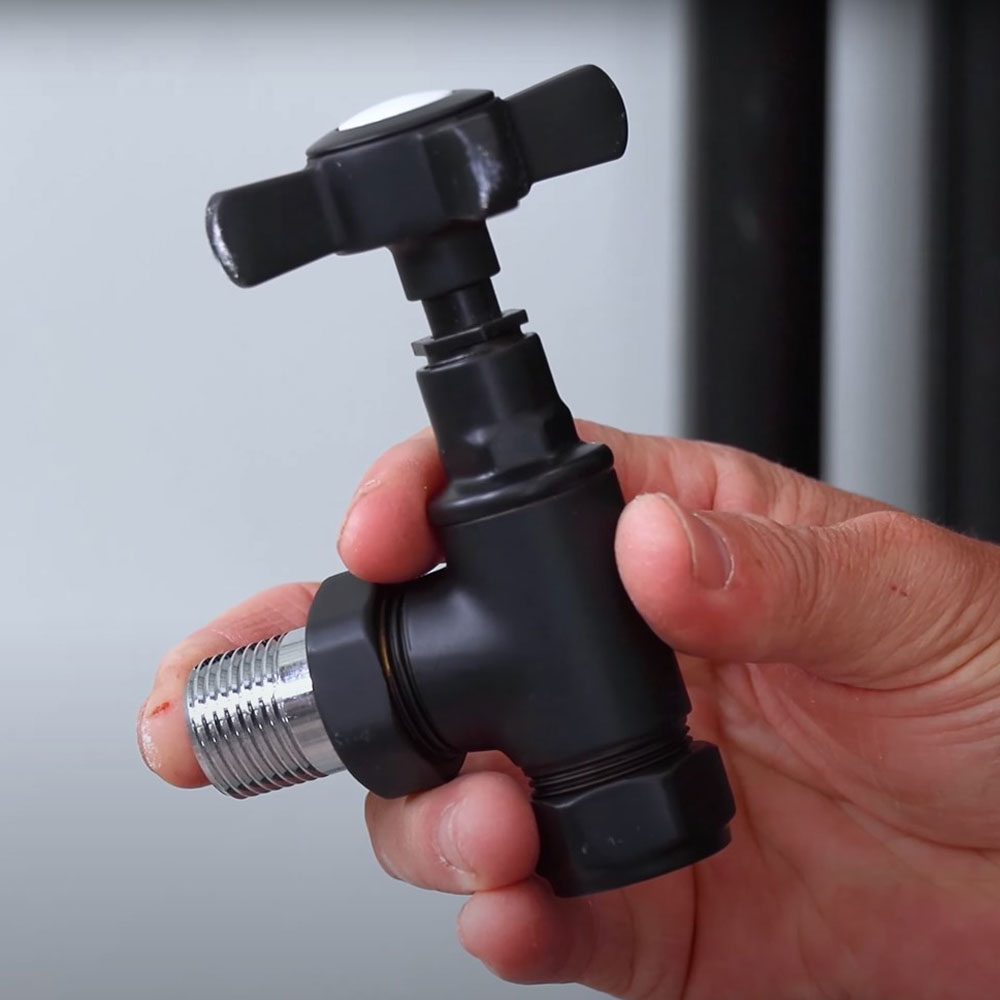
Once the air is removed from your radiator you’ll be able to tighten this back up and use your radiator as usual. If you’ve decided to purchase new valves to match your radiator, we’d recommend sourcing a plumber to fit these, as this can be quite a tricky job.
Now you’ve successfully fit your new radiator, you can post your pictures on Instagram, tagging @bathroommountainuk. We love to see your projects! For the exact radiator used in this tutorial, check out our Athens Matt Black Vertical Traditional Radiator. If you feel you need this tutorial in a video format, check out our YouTube Video with DIY expert Craig Phillips, How To Fit a Slimline Radiator.


